
- Print Business Cards in Sugar Land – Same Day Service
- Copying Services
- Document Printing, Finishing & Lamination in Sugar Land
- Flyers
- Print Banner in Sugar Land | Same-Day Banner Printing Near Me
- Graphic Design
- Photo Printing
- Postcard Printing
- Document Printing
- EDDM Full Service Postcards
- FotoZoomer Large Format Printing


Photos for Passport: 2026 Rules & DIY Guide
Businessmailboutique, 11645 S. Hwy 6, Sugar land, Texas 77498, United States (US) - Phone: 281-875-0161 Email: info@businessmailboutique.com
Route
You’ve already planned the trip. The flights are bookmarked, time off is being arranged, and the passport application seems like the easiest item left on the checklist. Then the passport photo gets rejected, turning a simple task into an unexpected delay that can disrupt your entire travel schedule.
That’s why passport photos deserve far more attention than most people give them. A passport photo isn’t just a casual portrait — it’s a highly regulated identification image with strict requirements for size, lighting, background, positioning, and clarity. Even small mistakes can cause an otherwise complete application to be delayed or rejected.
When your travel plans depend on timing, getting the passport photo done the first time correctly is more than convenience — it’s protection against unnecessary setbacks.
If you’re also organizing the rest of your travel essentials, it helps to keep documents protected and easy to grab. Practical accessories like monogrammed passport holders can make that part easier, especially once your application is ready to mail or carry.
Table of Contents
- Why Your Passport Photo Is More Than Just a Picture
- Understanding Official US Passport Photo Requirements
- A Practical Guide to Taking Your Own Passport Photo
- Common Passport Photo Mistakes That Cause Rejection
- How to Print and Submit Your Passport Photo Correctly
- Get Guaranteed Passport Photos Today at Business Mail Boutique
Why Your Passport Photo Is More Than Just a Picture
A passport photo looks simple until you have to replace one that wasn’t accepted. Applicants often only notice the rules after they’ve already taken the picture, printed it, attached it, and realized something was off. At that point, the issue isn’t just annoyance. It’s lost time.
Passport reviewers aren’t judging whether the photo looks flattering. They’re checking whether it works as a reliable identification image. That means the photo has to be consistent, clear, and easy to evaluate. A slightly dark face, a soft blur from a moving phone, or a background shadow can turn a usable portrait into a rejected application image.
Practical rule: If you’re taking photos for passport use, think like an inspector, not like a photographer. Compliance matters more than style.
Many DIY attempts for passport photos frequently go wrong. People use portrait mode, stand too close, crop too aggressively, smile a little too much, or print on whatever paper is in the home printer. None of those choices feels major in the moment. Together, they create risk.
The practical consequence is stress. You thought you were checking off a box, but the photo becomes the reason your application stalls. If travel dates are firm, that’s the last surprise you want. The safest approach is to treat the photo as an official document from the start, with the same care you’d give the application form itself.
Understanding Official US Passport Photo Requirements
The official standards aren’t hard once they’re translated into plain language. They are strict, though. Precision is the whole point.
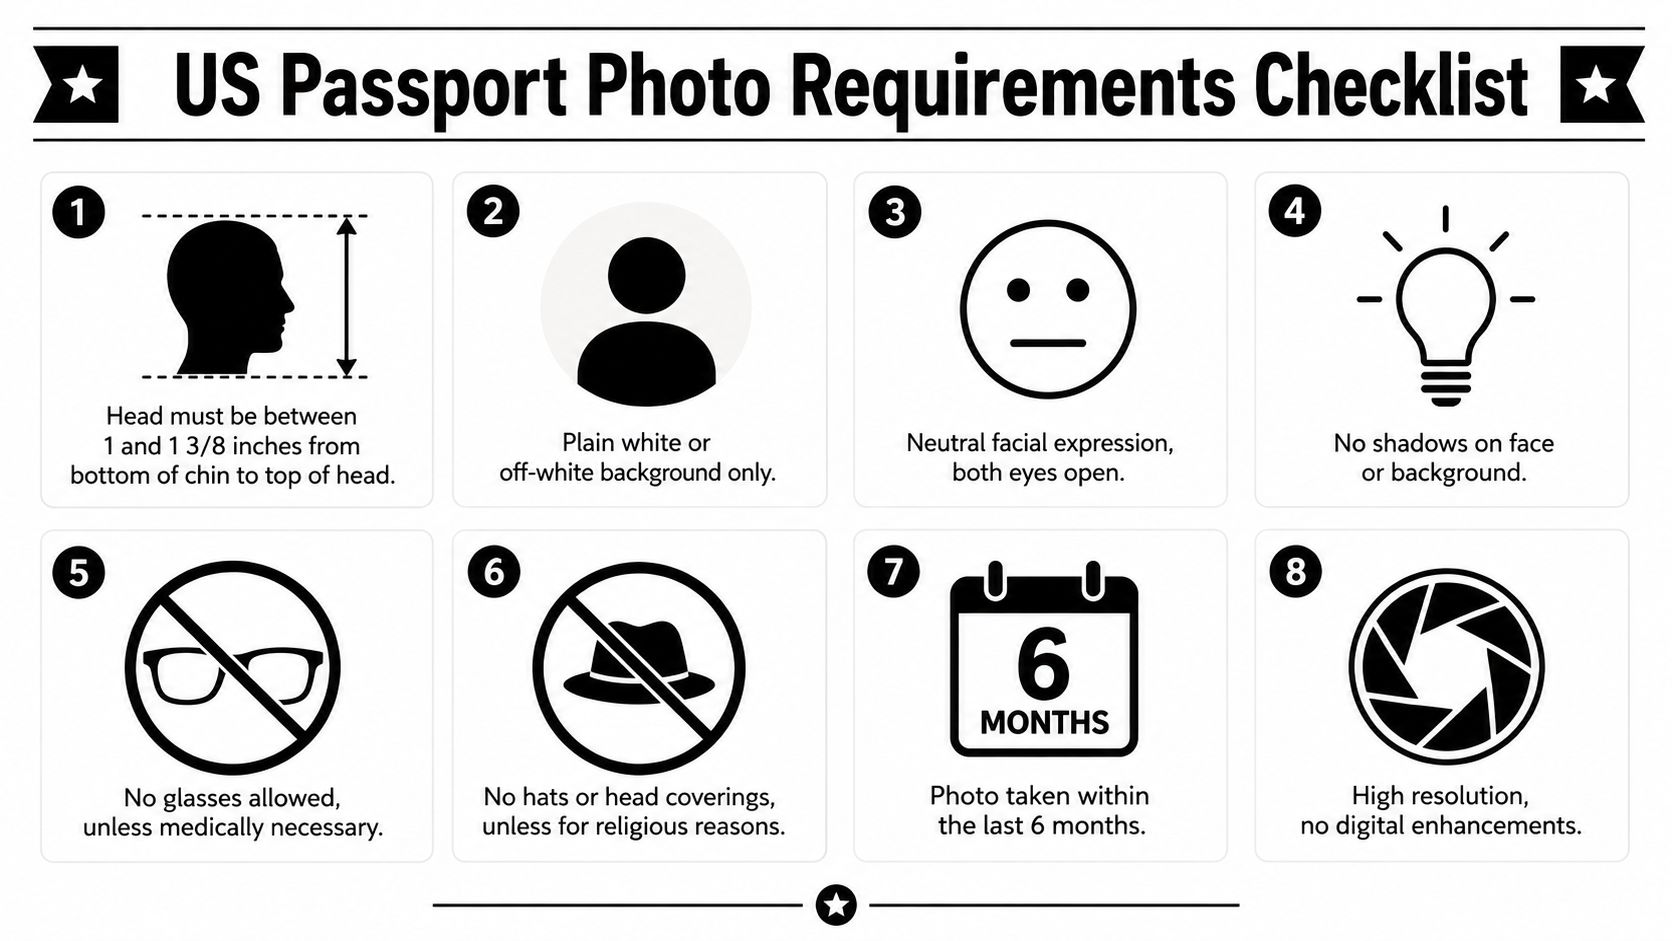
According to the U.S. passport and photo requirements page, a U.S. passport application needs one color photo taken within the last 6 months, printed at 2 x 2 inches (51 x 51 mm), with the head measuring between 1 and 1 3/8 inches from chin to crown. For digital submissions, the image must be a square JPEG at 600 x 600 pixels. The same guidance notes that visa photo files must be no larger than 240 KB, and passport photo guidance also emphasizes high-resolution, unmodified images on photo-quality paper.
For a broader summary of official standards and document-specific details, this guide to visa and passport photo requirements is a useful reference.
Size and composition
This is the part people underestimate most.
- Final print size: The photo must be 2 x 2 inches.
- Head size inside the frame: Your head must measure between 1 and 1 3/8 inches from chin to crown.
- Shape for digital use: The digital image must be square.
- Color matters: The photo must be in color, not black and white.
A photo can look perfectly fine on your phone and still fail because the head is too large, too small, or positioned badly in the crop.
Expression and face position
Passport photos should look plain and consistent.
- Face the camera directly: No angled shoulders with the face turned back.
- Keep both eyes open: Avoid blink shots or anything that looks sleepy.
- Stay neutral: Don’t grin for it. A passport photo is not the place for personality.
- Center the face: Don’t leave the head drifting to one side.
The reason is practical. Reviewers need a clear, standardized image that matches your identity documents without distraction.
A compliant passport photo often looks less natural than a casual portrait. That’s normal. The goal is clarity, not charm.
Background and image quality
This category causes a huge share of DIY failures.
- Background: Use a plain white or off-white backdrop.
- Sharpness: The image must be high resolution and not blurry.
- No digital changes: Don’t retouch skin, smooth features, or run automatic beauty tools.
- Printing standard: Printed photos should go on photo-quality paper.
The photo also needs to look clean when examined closely. If the image shows grain, rough printing, or obvious modifications, it becomes risky.
A Practical Guide to Taking Your Own Passport Photo
Taking your own passport photo can work if you’re careful and patient. The trick is building a simple process instead of snapping a quick selfie and hoping for the best.
Set up your space first
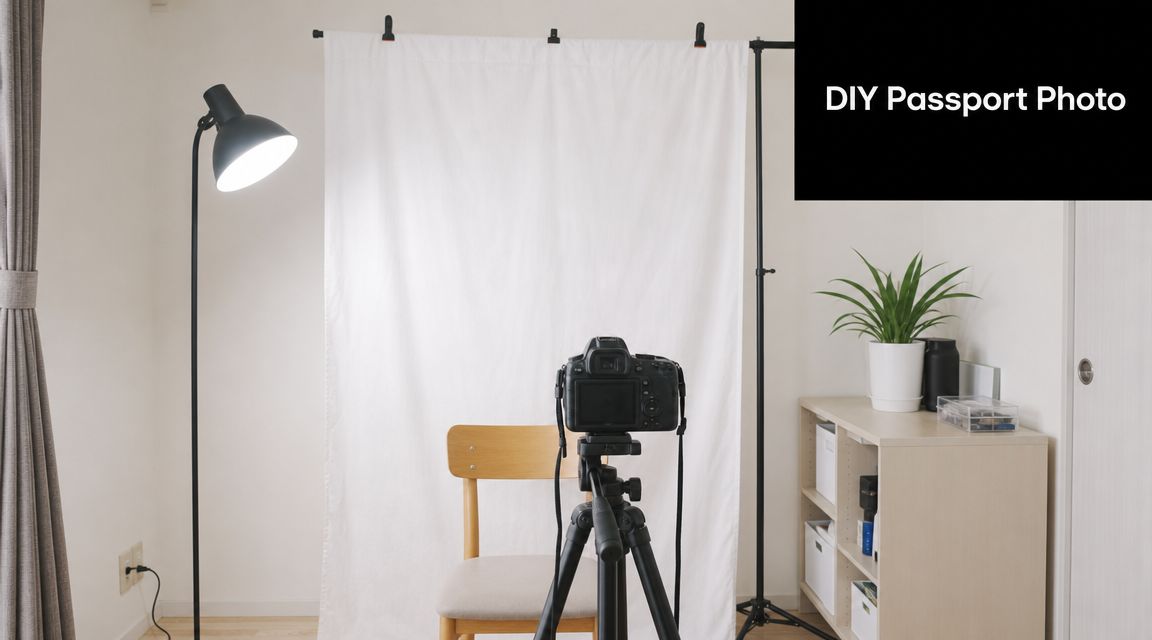
Start with the background, not the camera. A plain white or off-white wall is the easiest option. If your wall has texture, shadows, décor, or a baseboard line showing behind your shoulders, it can create problems.
Then fix the lighting. Window light is often the cleanest option if it’s bright but not harsh. Stand facing the light, not with the window behind you. If one side of your face looks darker, add another lamp on the opposite side until the light evens out.
A simple home setup works best when you keep it boring:
- Choose a flat background: Smooth wall, no patterns, no wall art.
- Create even light: Bright enough to stay sharp, soft enough to avoid shadows.
- Stand with some distance from the wall: That helps reduce the dark shadow halo behind your head.
- Keep the floor position fixed: Tape a spot if you need several attempts.
Use your phone the right way
Most current smartphones can capture usable photos for passport purposes. What matters is how you use them.
Use the rear camera if possible because it usually produces a sharper image. Put the phone on a tripod or stable surface, then use a timer. Don’t hold it by hand unless someone else is taking the photo and can keep it steady.
Turn off everything that tries to “improve” the image:
- No portrait mode
- No beauty filter
- No smoothing
- No color effects
- No auto-enhancement after capture
A lot of phones apply subtle corrections by default. Those edits may make the picture look better socially, but they can make it less acceptable as an ID photo.
This walkthrough gives a visual sense of setup and framing:
Check before you print
Don’t judge the photo from the tiny preview alone. Zoom in.
Look at the eyes first. If they aren’t crisp, retake it. Then check the hairline edges, jawline, and shoulders. Soft detail often means slight motion blur, even if the image looked okay at first glance.
Use this quick review before calling the photo done:
| Checkpoint | What to look for |
|---|---|
| Face position | Centered and straight |
| Expression | Neutral, eyes open |
| Background | Plain and evenly lit |
| Focus | Sharp around eyes and facial outline |
| Image style | No edits, no filters |
If you have to ask whether a flaw is small enough to ignore, it usually isn’t.
Common Passport Photo Mistakes That Cause Rejection
Most rejected photos don’t fail for dramatic reasons. They fail because of small technical issues that look harmless until someone checks them against the rules.
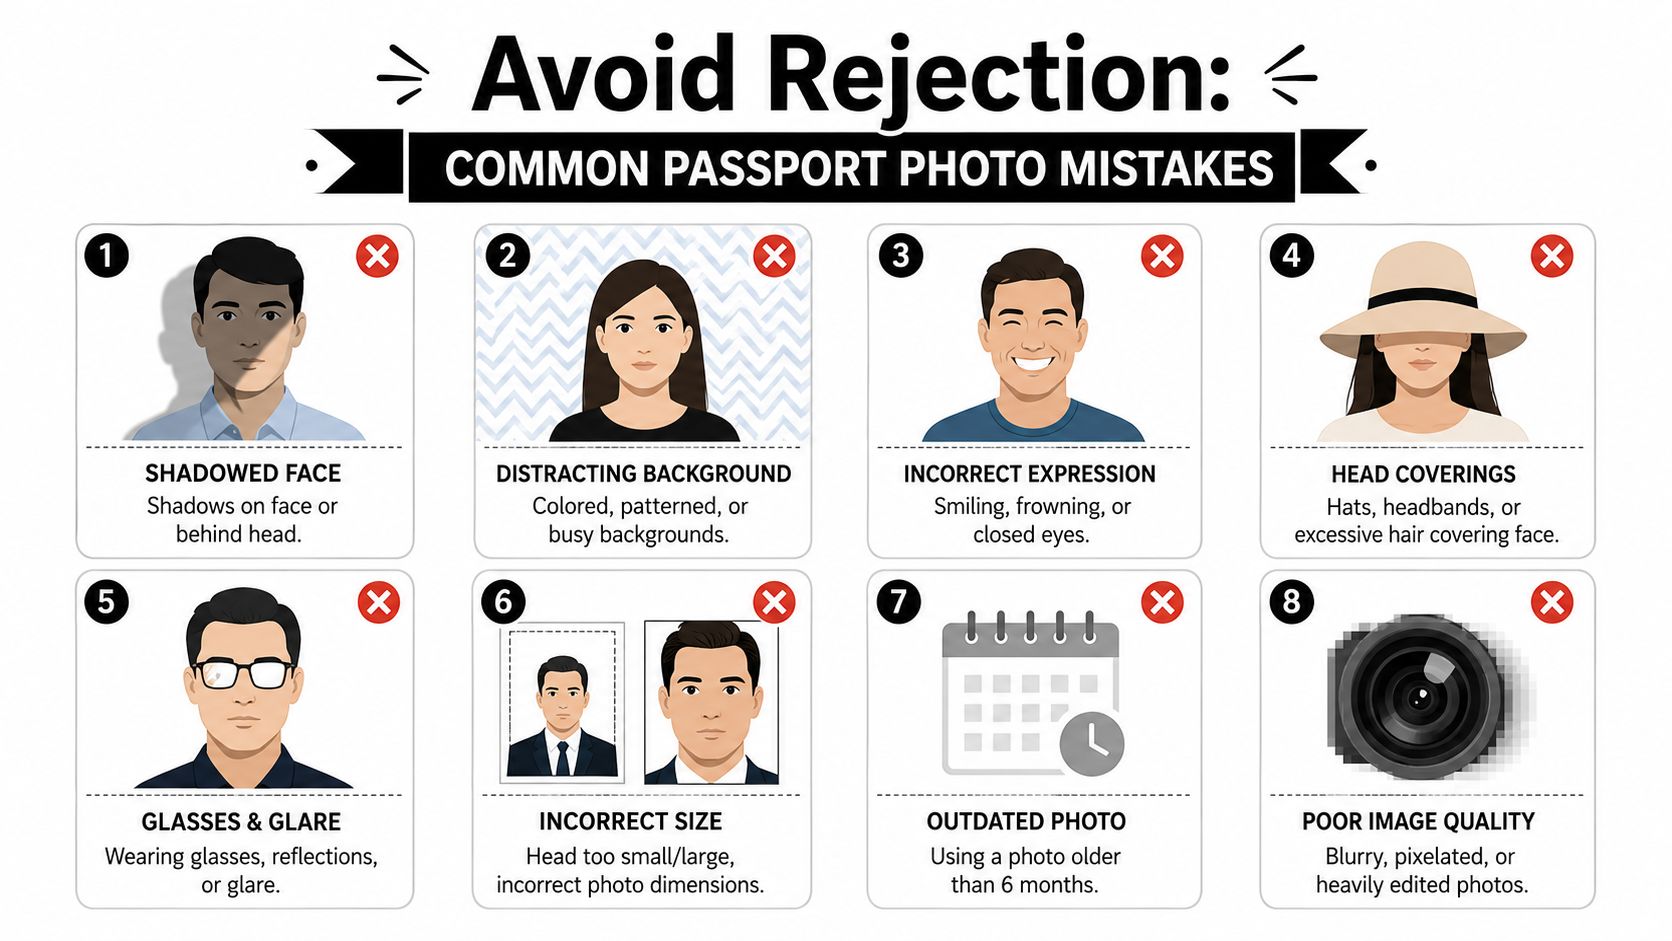
According to ICAO photo standards guidance, the failure-prone variables are lighting, background, and sharpness. The U.S. State Department requires uniform lighting, no shadows on the face or background, a plain white or off-white background, and a sharp, high-resolution image with no blur, grain, pixelation, or visible printer dots. ICAO guidance also notes that the face should be in sharp focus, centered, neutral-expression, and free of obstructions such as hair over the eyes.
Lighting problems
This is the most common issue in home-taken photos.
If the room is dim, the phone boosts exposure and softness creeps in. If the light is harsh, you get nose shadows, cheek shadows, or a dark patch behind the head. Either way, the image starts to look unreliable.
Fix: Use even front lighting and take several test shots before settling on one.
Background and framing errors
A white wall isn’t always enough. If the wall is warm beige, textured, or partly shadowed, it may not read as a clean background. Framing mistakes also matter. A face that’s too close or too low in the crop often leads to an unusable final print.
Fix: Step away from the background, square the shoulders, and review the crop carefully before printing.
The photo usually fails on details people thought “probably won’t matter.”
Editing and appearance issues
This category catches people by surprise. They don’t think of it as editing because the phone did it automatically. Skin smoothing, color balancing, portrait blur, and enhancement tools can all change the image in ways that make it less compliant.
Hair can also become a problem. If it covers the eyes or obscures the facial outline, the photo becomes harder to verify. The same goes for glare, accessories, or expression drift.
Fix: Keep the face fully visible, remove visual distractions, and use the plain original image rather than a polished version.
How to Print and Submit Your Passport Photo Correctly
A good capture can still be ruined at the final step. Printing and file prep matter just as much as the shot itself.
For printed photos
Printed photos need to be sized correctly and produced on photo-quality paper. Regular copy paper doesn’t hold detail the same way, and rough home printing can introduce visible dots, softness, or off-color results.
When preparing printed photos for passport applications:
- Crop carefully: Keep the final image at the required passport dimensions without stretching the face.
- Use photo paper: Matte or glossy photo-quality stock is the safe choice.
- Avoid bargain print settings: Low-quality print mode can reduce sharpness.
- Handle the print gently: Bends, marks, and smudges can create avoidable issues.
If you’d rather have the sizing and print process handled for you, these passport photo processors are designed for that specific workflow.
For digital submissions
A digital file has its own checklist. It needs to be square, in JPEG format, and prepared cleanly. If the image was taken well but exported badly, the result can still be unusable.
Check the final file before uploading. Make sure the image is sharp, unchanged, and saved in the required format. At this stage, DIY applicants often decide the convenience of doing everything alone isn’t worth the submission risk.
Get Guaranteed Passport Photos Today at Business Mail Boutique
If your travel plans are time-sensitive, the safest move is often to skip the trial-and-error stage. DIY photos for passport applications can work, but they ask you to manage the setup, lighting, framing, crop, print quality, and final file prep without mistakes.
That’s why professional service makes sense. You’re not paying for a fancy portrait. You’re paying to reduce the chance of rejection and to avoid redoing paperwork because of something as small as a shadow or incorrect crop.
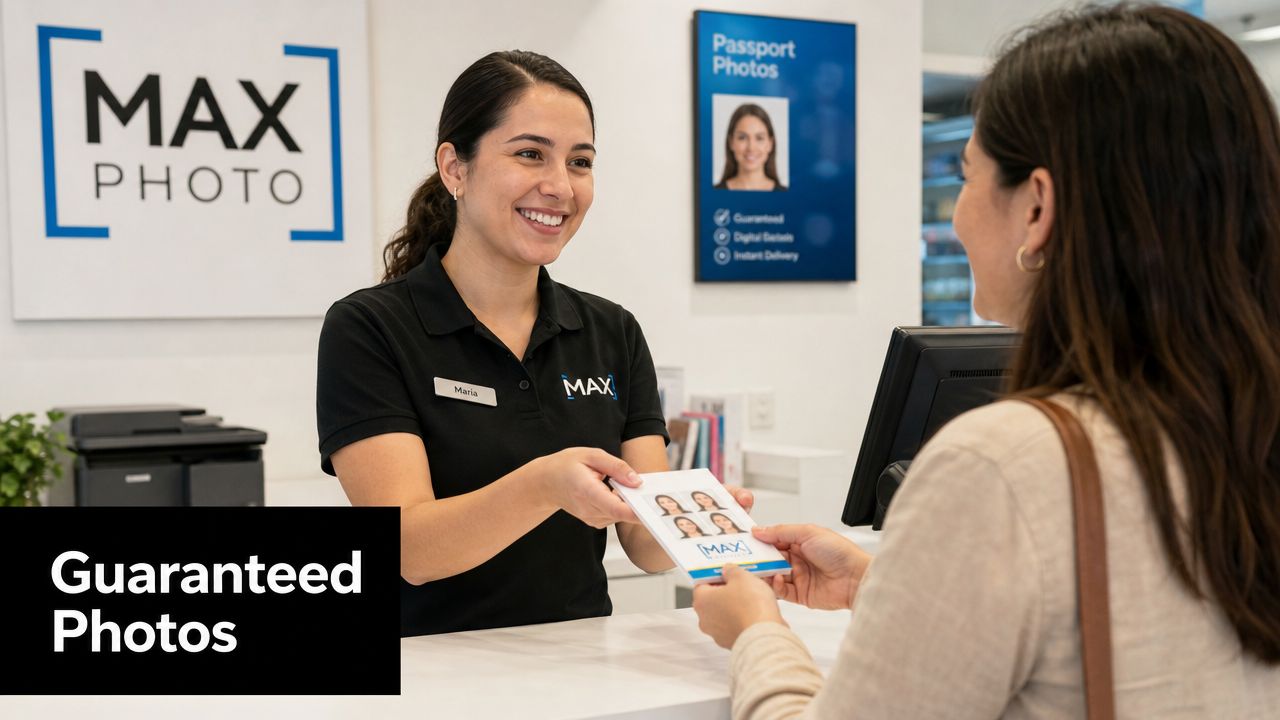
For local residents, passport photos in Sugar Land on Hwy 6 offer a straightforward option for getting compliant images produced in one place. Business Mail Boutique LLC provides passport photo services as part of its print and business center offerings, which is useful if you want physical photos and related support handled together.
A professional photo counter solves the practical problems that cause most rejections:
- Controlled lighting: No guessing about shadows or bright spots
- Correct framing: The crop is handled to passport standards
- Reliable printing: Photo-quality output instead of a home-printer gamble
- Faster turnaround: You don’t spend your evening retaking the same shot
For a routine application, that’s convenient. For urgent travel, it’s peace of mind.
If you want a clean, compliant passport photo without the guesswork, Business Mail Boutique LLC is a practical place to start. Stop by in Sugar Land and get your photo handled correctly before a small mistake turns into a travel delay.

Related posts

Custom Memorial Glasses Engraved in Three Hours in Sugar Land
When a customer needed eight personalized glasses for a memorial, Business Mail Boutique completed the engraving or...

Custom Martini Glass Engraving in Sugar Land, TX
Custom Logo Engraving on Martini Glasses in Sugar Land, Texas.
Business Mail Boutique recently completed a beautiful custom engravin...

Custom Engraved Wine Glasses for a Golf Club Event in Sugar Land, TX
Custom Engraved Wine Glasses for a Golf Club Event in Sugar Land.
Custom wine glass engraving in Sugar Land, TX at Business Mail Bouti...