
- Print Business Cards in Sugar Land – Same Day Service
- Copying Services
- Document Printing, Finishing & Lamination in Sugar Land
- Flyers
- Print Banner in Sugar Land | Same-Day Banner Printing Near Me
- Graphic Design
- Photo Printing
- Postcard Printing
- Document Printing
- EDDM Full Service Postcards
- FotoZoomer Large Format Printing


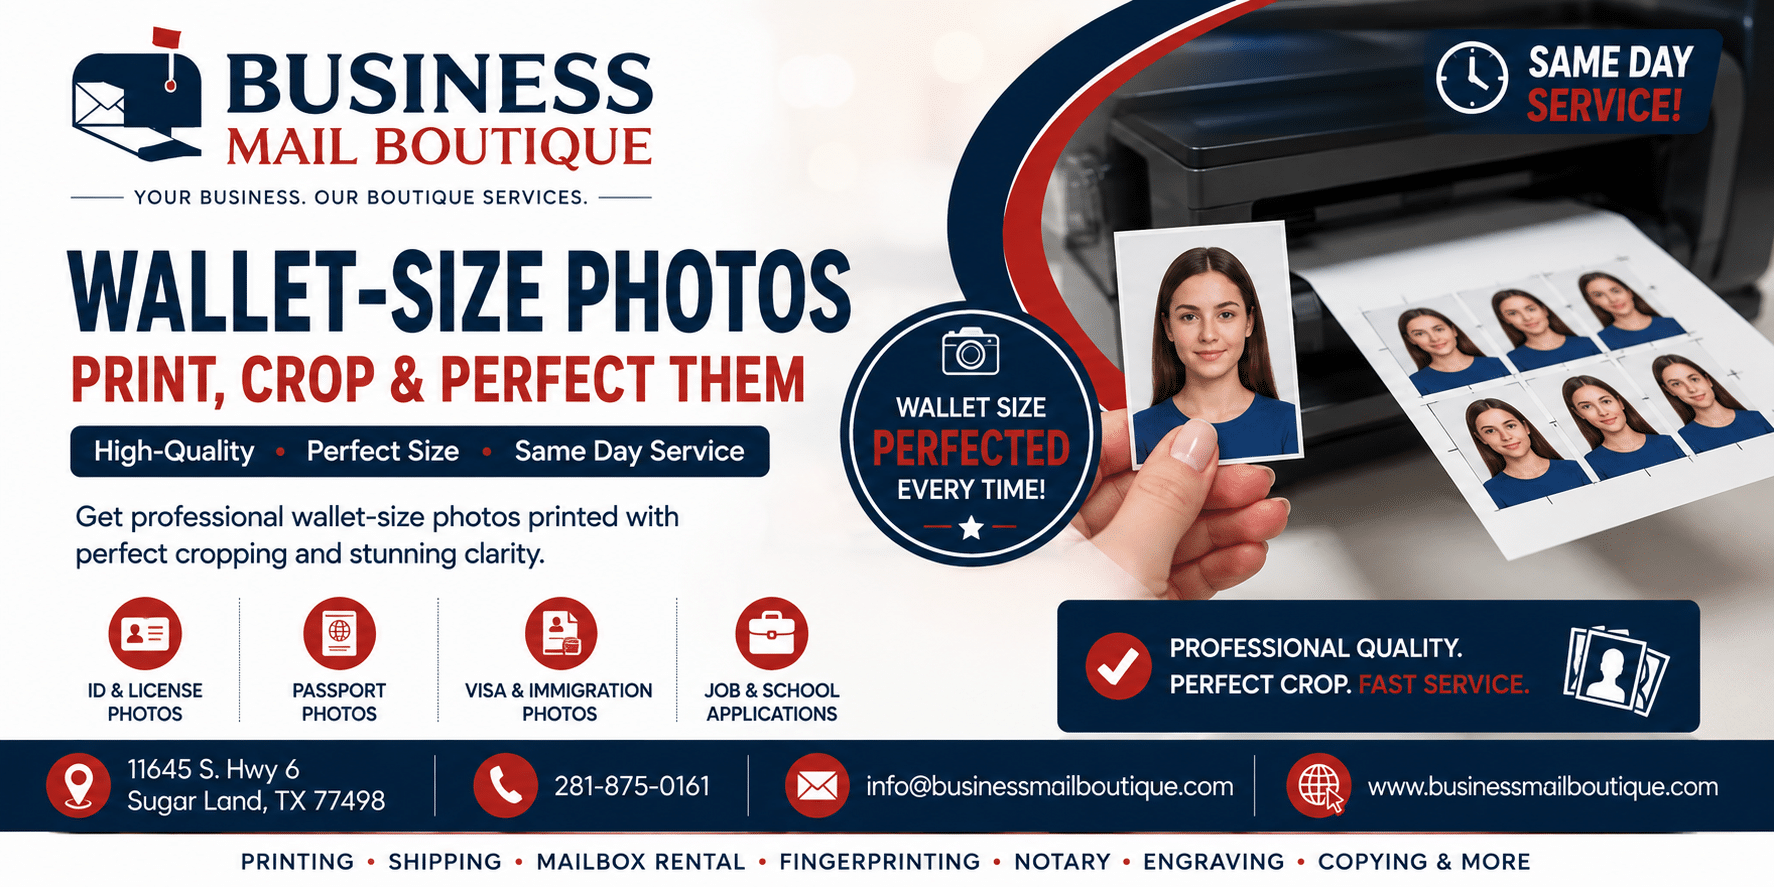
Wallet Size Photos: Print, Crop, and Perfect Them.
Learn to print, crop, and perfect wallet size photos with our simple guide. Get the right dimensions for perfect prints every time.
Businessmailboutique
11645 S. Hwy 6
Sugar land, Texas 77498 United States (US)
Email: info@businessmailboutique.com
Route
You’re usually holding the problem in your hand before you even realize it. A customer comes in with an old wallet photo that’s faded at the edges, or they need a fresh set for a trip, a keepsake, or a quick ID backup, and the first question is always the same, what size fits?
Wallet size photos still matter because a screen can’t replace a print that slips into a billfold, card slot, or small frame and stays there. The format has survived from the early photo-wallet idea described in 1908 through today’s mixed print sizes, and that persistence says a lot about how people carry memories. If you want them to look right the first time, the details matter, especially dimensions, cropping, and where you print.
Table of Contents
- Why Wallet Size Photos Still Matter in 2026
- Standard Wallet Size Photo Dimensions and DPI
- How to Crop and Prepare Wallet Size Photos on Phone or Desktop
- Home Printing vs Online Labs vs Local Print Shops
- Sheet Layouts and Templates for Multiple Wallet Photos
- Same-Day Wallet Photo Printing at Business Mail Boutique
- Finishing Touches and Quick-Reference Checklist
Why Wallet Size Photos Still Matter in 2026
A lot of people only think about wallet size photos when something urgent comes up. A faded family picture gets pulled out before a trip. A parent needs a few copies for school folders or a memory book. Someone wants a small print for a memorial card, a gift insert, or a tiny frame on a desk, and suddenly a digital file doesn’t feel like enough.
That’s why the format hasn’t disappeared. Physical photos still solve a carry problem, not just a viewing problem. Wallet photos fit inside real objects people use every day, and the history of the format shows that it grew around practical carry sizes, not around a single rigid standard. Modern references keep pointing back to common wallet print sizes because people still need prints that live inside wallets, card sleeves, and billfold pockets, not just in albums or online galleries. The older photo-wallet habit, with small portraits carried physically long before phones, still makes sense today because it gives you something you can hand over, tuck away, or keep close.
Practical rule: if the photo has to survive a pocket, a purse, or a wallet slot, print quality matters more than screen brightness.
The most common reasons people ask for wallet prints are simple. They want a backup for travel documents, a small gift that feels personal, or a set of prints they can split among family members without fuss. That’s where wallet size photos beat a screen every time, because they’re immediate, durable, and don’t depend on battery life or signal.
Standard Wallet Size Photo Dimensions and DPI
The first mistake I see is people starting with cropping software before they know the target size. Don’t do that. Pick the print format first, because wallet size photos don’t have one universal measurement across every market, lab, or wallet slot. In modern U.S. printing guidance, the two most common formats are 2.5 x 3.5 inches and 2 x 3 inches, and the bigger one is repeatedly tied to a 5:7 aspect ratio in print references. For a deeper print-resolution check, calculate print size for sharp results is a useful reference when you’re trying to match file size to output.
Here’s the practical reference I’d keep on hand.
| Format | Inches | Millimeters | Pixels at 300 DPI | Aspect Ratio |
|---|---|---|---|---|
| Standard wallet photo | 2.5 x 3.5 | 63.5 x 88.9 mm | 750 x 1050 | 5:7 |
| Common wallet photo | 2 x 3 | 50.8 x 76.2 mm | 600 x 900 | 2:3 |
That 300 DPI benchmark matters because it gives you a sharp print target. A 2.5 x 3.5 inch wallet print maps to 750 x 1050 pixels, and that’s the cleanest practical goal for facial detail after cropping and resizing. Some production guidance also notes that minimum workable source dimensions can be a bit lower, but if you’re trying to avoid soft edges or awkward pixelation, I’d still aim for the full 300 DPI output size before you export.
The other reason to lock size first is fit. Many wallets and cardholders are built around the ISO/IEC 7810 ID-1 card standard, which measures 85.6 x 54 mm, so a wallet print has to behave like a small object that slides into a real slot. If you need a passport or visa photo too, the size logic changes fast, and you can compare that separately through our passport photo requirements for passports and visas.
How to Crop and Prepare Wallet Size Photos on Phone or Desktop
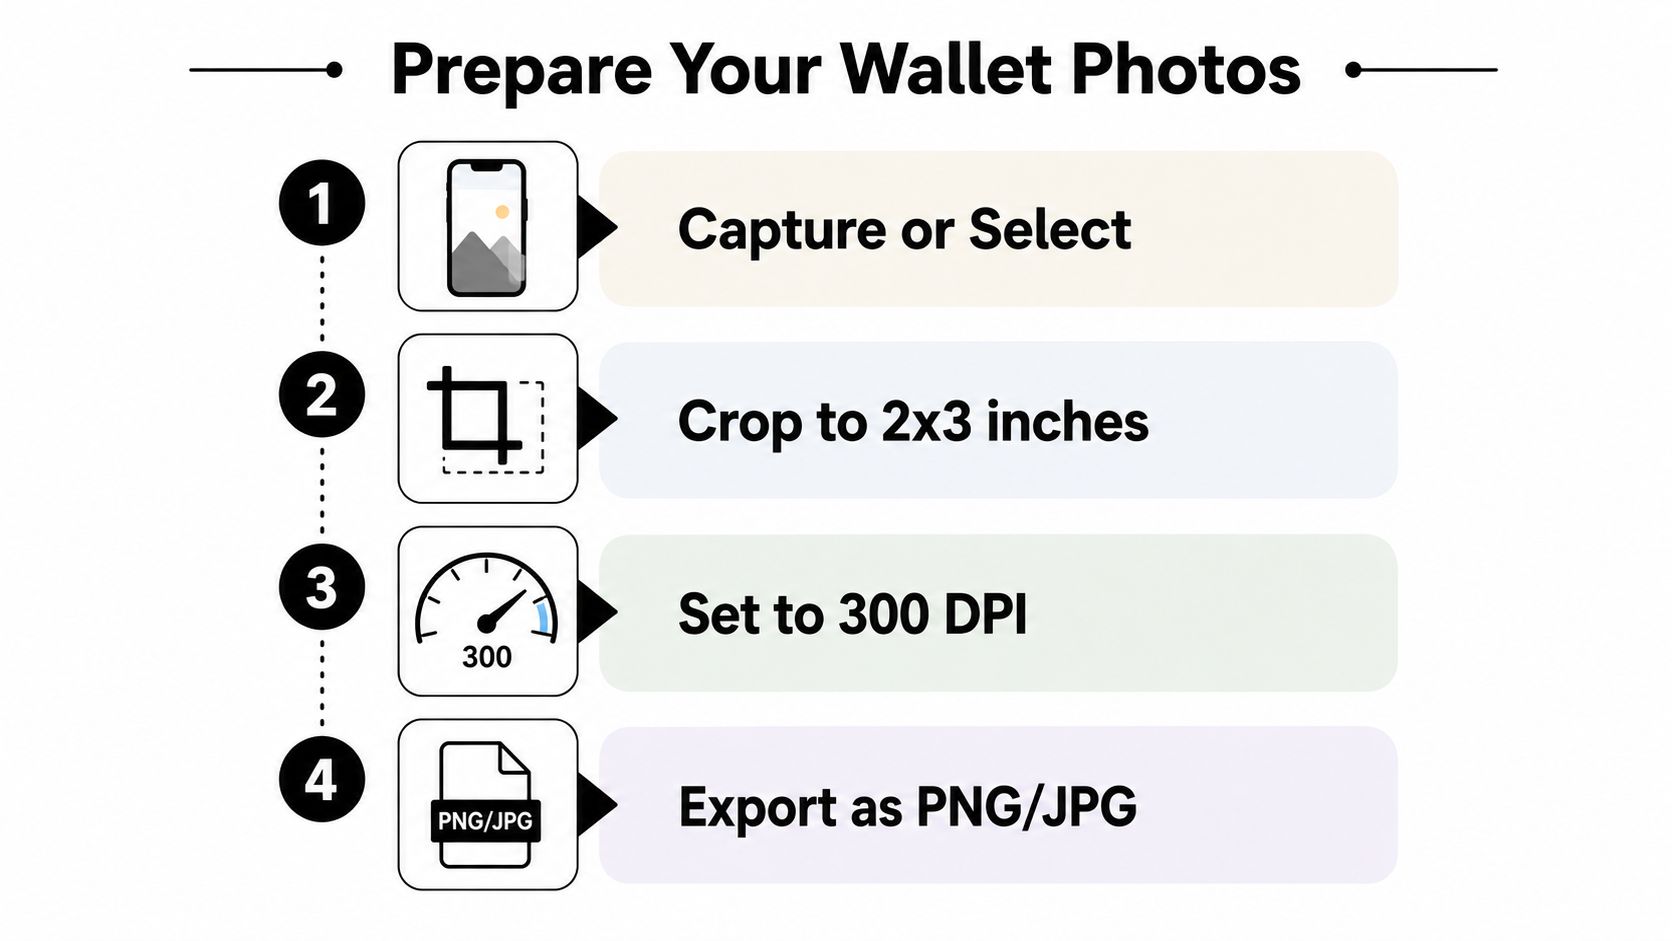
The best wallet prints usually come from boring, careful prep. Open the image at full resolution first, then crop to the final aspect ratio before you touch sharpening or export settings. On a phone, the built-in Photos app on iPhone or Google Photos can handle basic cropping, and Snapseed is handy when you need a cleaner edge or a little extra control. On desktop, Photoshop, GIMP, and Canva all work fine as long as you set the ratio before you start dragging the frame around.
The face should not be jammed into the crop. Leave breathing room above the head, keep the chin clear, and avoid cutting off hair or shoulders unless the template specifically forces it. That extra space matters because wallet prints are small, and a crop that looks fine on a phone screen can look cramped when it shrinks to print size.
A simple workflow keeps mistakes down:
- Select the final size first. Use the exact wallet format the lab or wallet slot needs.
- Lock the crop ratio. For the 2.5 x 3.5 standard, keep the 5:7 shape.
- Adjust the composition. Center the face and leave a little space around it.
- Export at the largest practical size. Don’t resize down until the crop is final.
Rule of thumb: crop first, resize second. If you reverse that order, the final print usually loses edge detail for no good reason.
The video below is useful if you want a visual pass through the same process.
Home Printing vs Online Labs vs Local Print Shops
The right printing path depends on what you care about most. Home printing is fast because you control the machine, but it can be picky about color, paper feed, and border alignment. Online labs usually give you polished output and decent consistency, but you’re waiting on shipping or pickup windows. A local print shop gives you the strongest blend of speed and hands-on correction because someone can check the file before it becomes a bad batch.
If you want a quick comparison in plain terms, think about the trade-off this way.
- Home printing: good for immediate control, but the ink, paper, and border placement depend on your setup.
- Online labs: good for convenience and polished output, but you lose the chance to verify the finished piece in person.
- Local print shops: good for same-day pickup and on-the-spot correction, especially when the wallet slot needs a very specific fit.
A useful context point comes from the custom-print world in general. The comic book page size guide is a good reminder that print success always starts with matching layout to the final physical format, not just uploading a nice image and hoping the crop works out. Wallet photos follow the same logic, just at a much smaller scale.
For most people, the deciding factor is not perfection. It’s whether the print is ready when needed and whether it fits the object it’s meant for. If you’re making keepsakes, a lab or local shop makes more sense than fighting with home-printer alignment. If you need one or two test copies, home printing can still be useful. If you need the file checked against an actual wallet slot, local pickup is the safer move.
Sheet Layouts and Templates for Multiple Wallet Photos
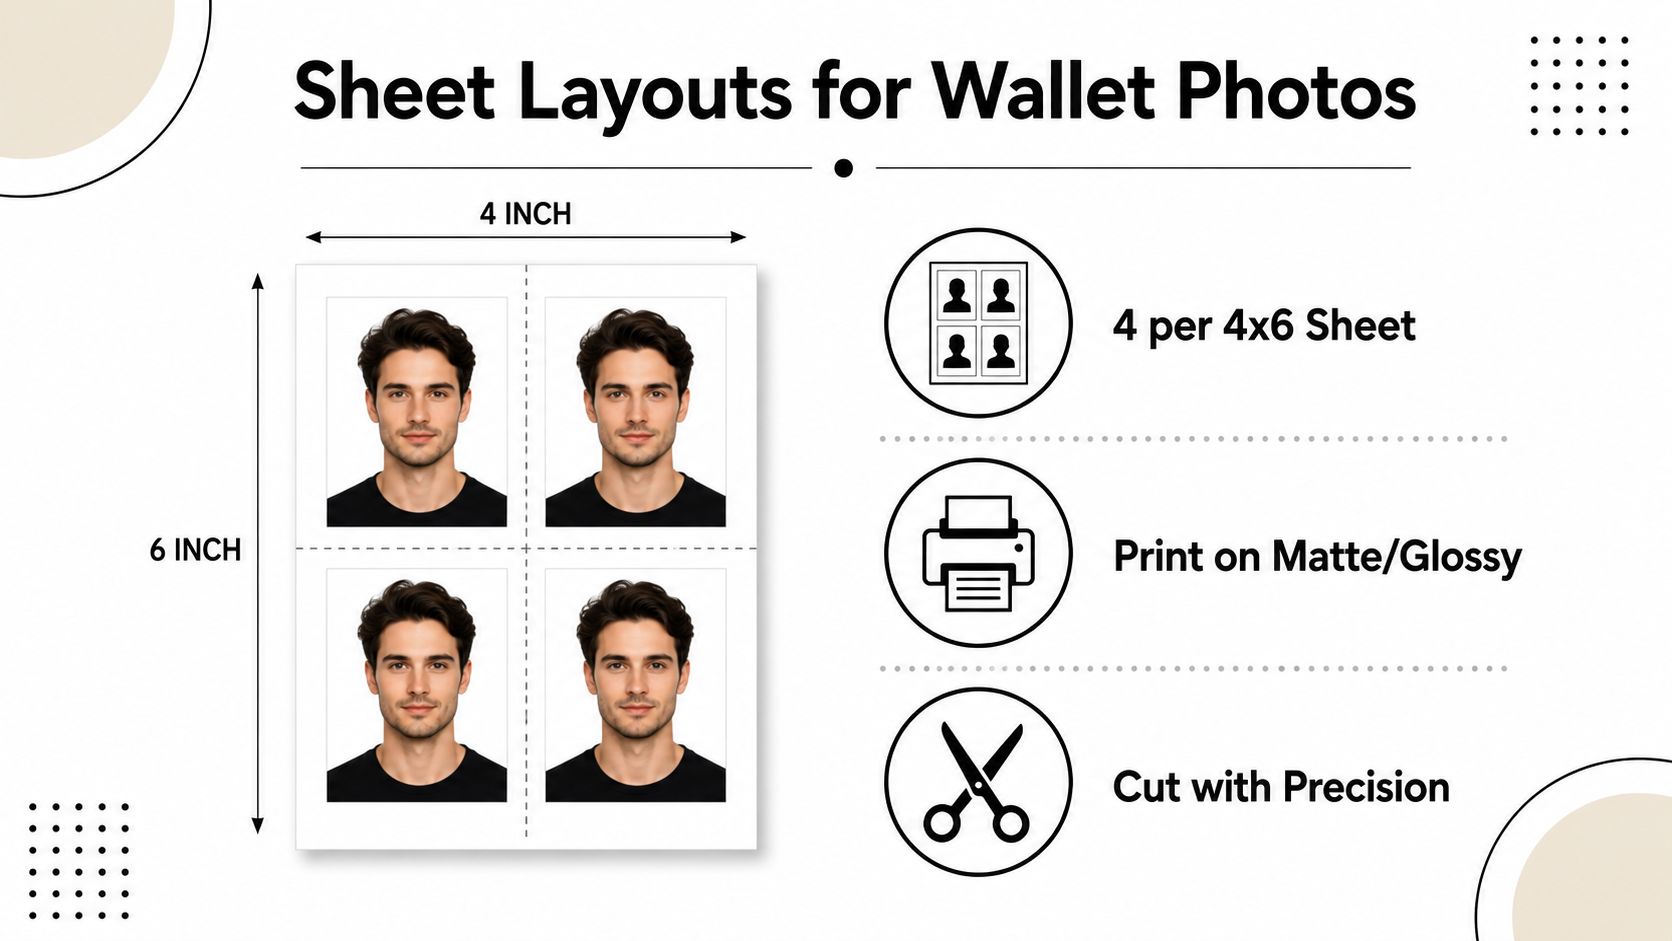
Most don’t need one wallet print. They need four, maybe more. That’s why the 4 x 6 sheet layout keeps showing up in print guides, because it’s compact, economical, and easy to trim. One common setup is to place four wallet photos on a single 4 x 6 inch sheet, which keeps the print efficient without making the images too small to handle.
A clean template is worth saving once you build it. Set your sheet size first, then drop the wallet crops into a 2 by 2 grid with safe margins around the edges. Leave enough space for cutting, because a print that looks perfectly centered in software can still lose a sliver at the trim line if the cutter runs a little wide. If you’re adding cut marks, keep them outside the photo area so they don’t show in the final handout.
Some wallets and sleeves want slightly different proportions. The 2.25 x 3.25 inch variant appears in market references, and it can solve fit issues when a standard print feels too loose or too tight. A 2 x 3 layout can also make more sense for certain compact card slots, especially when the holder is designed around a closer-to-card proportion.
For repeat jobs, save two templates. One for the larger common wallet format, and one for the smaller option. That way you can swap a file without rebuilding the sheet every time.
Save the template after the first successful print. That one file saves more time than any crop tool ever will.
If you’re building sheets for family gifts, backups, or batch orders, this is also where a retail print workflow can help. Our photo collages design print service is relevant when you want multiple images arranged on one page without redoing the layout from scratch.
Same-Day Wallet Photo Printing at Business Mail Boutique
When the file is ready and you don’t want to gamble on borders, a local counter is the easiest path. Business Mail Boutique in Sugar Land can handle same-day photo printing, so you can bring a phone, a USB drive, or even a printed photo that needs to be scanned and resized. That matters when the image has to match a real wallet slot, not just a screen preview.
The value is in the hands-on check. Staff can compare the crop against the actual use case, adjust framing on the spot, and apply rounded corners or lamination if that’s what the customer wants. The store also offers passport and ID photo services, so travelers and professionals can handle both keepsake prints and document photos in one stop. If you’re already looking for a quick local turn, our same-day printing services near me fast prints in Sugar page shows the broader service range.
There’s also a practical link to modern prep habits. The passport photo AI tips resource is useful if you’re comparing edited portraits and compliance-minded cropping, because wallet prints and ID-style images often start from the same source file even if the final output is different.
For a lot of customers, that combination is the point. Bring one file, check the size in person, and leave with prints that fit the slot they’re meant for. No guessing about borders. No waiting for shipping. No second round because the crop was off by a few millimeters.
Finishing Touches and Quick-Reference Checklist
The last few choices are small, but they change how the print lasts. Rounded corners reduce edge wear when a photo gets pulled in and out of a wallet. Lamination adds protection if the print will be handled often. Matte paper cuts glare, glossy paper gives more pop, and the right answer depends on where the photo will live.
Keep this quick check in mind before you print:
- Dimensions match the slot or template.
- Resolution is set for sharp output.
- The crop is locked before export.
- Paper finish matches the use case.
- The file is saved in a print-friendly format.
For long-term keepsakes, storage matters too. Keep extra prints away from heat, moisture, and hard bends so they don’t curl or fade faster than necessary. Wallet photos are small, but they’re often the copies people keep the longest.
If you want a printed set checked by someone who handles these jobs every day, visit Business Mail Boutique LLC in Sugar Land. They can help with wallet-size photo printing, crop checks, rounded corners, lamination, and same-day pickup, so you can leave with prints that fit where they’re supposed to go.

Related posts

Custom Memorial Glasses Engraved in Three Hours in Sugar Land
When a customer needed eight personalized glasses for a memorial, Business Mail Boutique completed the engraving or...

Custom Martini Glass Engraving in Sugar Land, TX
Custom Logo Engraving on Martini Glasses in Sugar Land, Texas.
Business Mail Boutique recently completed a beautiful custom engravin...

Custom Engraved Wine Glasses for a Golf Club Event in Sugar Land, TX
Custom Engraved Wine Glasses for a Golf Club Event in Sugar Land.
Custom wine glass engraving in Sugar Land, TX at Business Mail Bouti...